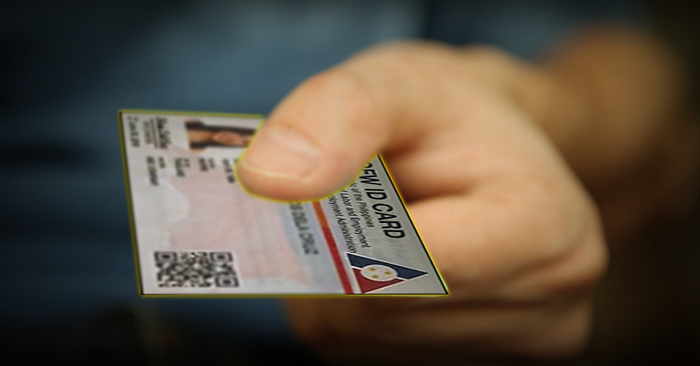
The promise of change has come but it has also brought some confusion along with it. A few weeks ago the Department of Labor and Employment issued a directive stating that there will be a replacement for the Overseas Employment Certificate (OEC) of Overseas Filipino Workers which will be known as the ID for DOLE or iDOLE.
According to Secretary Silvestre Bello III, the iDOLE will be a unified ID which can be used for Social Security System (SSS), the Pag-IBIG Fund and the Philippine Health Insurance Corporation transactions anywhere in the world. It would also be used for faster transactions in government and private offices. There are even talks to make the iDOLE as the passport of OFWs.
While the OEC has been scrapped recently due to complaints from the OFWs themselves, the iDOLE is said to make it easier for everyone involved. The question in everyone’s mind is how to avail of this improved service that President Duterte approved?
Most of the OFWs welcomed the change but the confusion started with conflicting reports and issuances regarding the fees involved. According to some reports, the iDOLE would be free of charge and OFWs would need not to apply for it. Other reports said otherwise, that there are certain fees involved and there will be an application process to avail of the card.
So what is the truth?
The truth is OFWs can apply for this online. It relieves them of long lines in the government offices. Additionally, the iDOLE is a one-time application processes that replaces the OEC which costs Php 1,500 or so. That is the trumpeted improvement that the DOLE innovated and is so proud about.
The inconvenient truth is that the iDOLE would cost Php 501 for the pickup option at the nearest POEA office. An additional Php 200 charge will be added on top of the fee for the delivery option. Additionally, the OFWs currently abroad would have to ask their family members to pay for their iDOLE applications for them if they do not have an online Philippine bank account.
For some it is quite inconvenient, but the law is the law. And because OFWs are among the most law-abiding sectors of Philippine society, it is going to be mandatory for all to acquire this document.
Step by Step Guide to Applying for iDOLE OFW ID card
While there are reports that the website www.ofw.idole.ph has been downgraded to a test site, here are the step by step procedures for acquiring the iDOLE card:
Step 1: Get your latest Overseas Employment Certificate number. You can get it from your issued OEC or if you lost it you can verify your OEC number thru the bmonline registration.
Step 2: Go to the iDOLE website and click on the CREATE NEW ACCOUNT button. One of the options for identification verification is the OEC Number. You must manually enter it to proceed.
Step 3: Fill in the required data fields as requested by the data prompts. Click the Register OFW Account when you are done.
Step 4: Wait for the email with the verification link to be sent to your email address. Click on the verification activation link and you will be transferred to another website.
Step 5: Proceed with the application as your bmonline data is now linked to your iDOLE data.
Step 6: Click SELECT TRANSACTION and choose the OFW Card Application icon. Fill in the data fields required and finish the automated form completely.
Step 7: Select the option on how you would want to receive your iDOLE card. You can have it DELIVERED (additional Php200 on top of the fee) to your home address or you can avail of the PICK-UP option (Php 501 fee) at your nearest local POEA Office.
Step 8: Fill in the shipping details if you choose the delivery option. Make sure that the details are current as of the time of your application.
Step 9: Choose your payment option. You can use bank payment options or the online payment mode or the mobile payment option. You can also avail of the Multipay wallet payment scheme or the 7-11 payment kiosk. A Bayad Center option is also available on top of Philpost and ECPay options. You can also choose to pay via Bancnet transaction or thru debit or credit cards. Choose which one is most convenient for you to use.
Step 10. After confirmation of payment an email will again be sent to your email address for confirmation. Your application is now complete.
Step 11. Wait for the delivery of your iDOLE card.
The iDOLE card is seen to expedite government and private sector transactions. However, the confusion needs to be cleared along with the legal implications of the claim that a Party List has funded the iDOLE cards from their funds. While the objectives and intent are no less noble, there has to be a clarification of the rules and the procedures to keep the flow going smoothly.