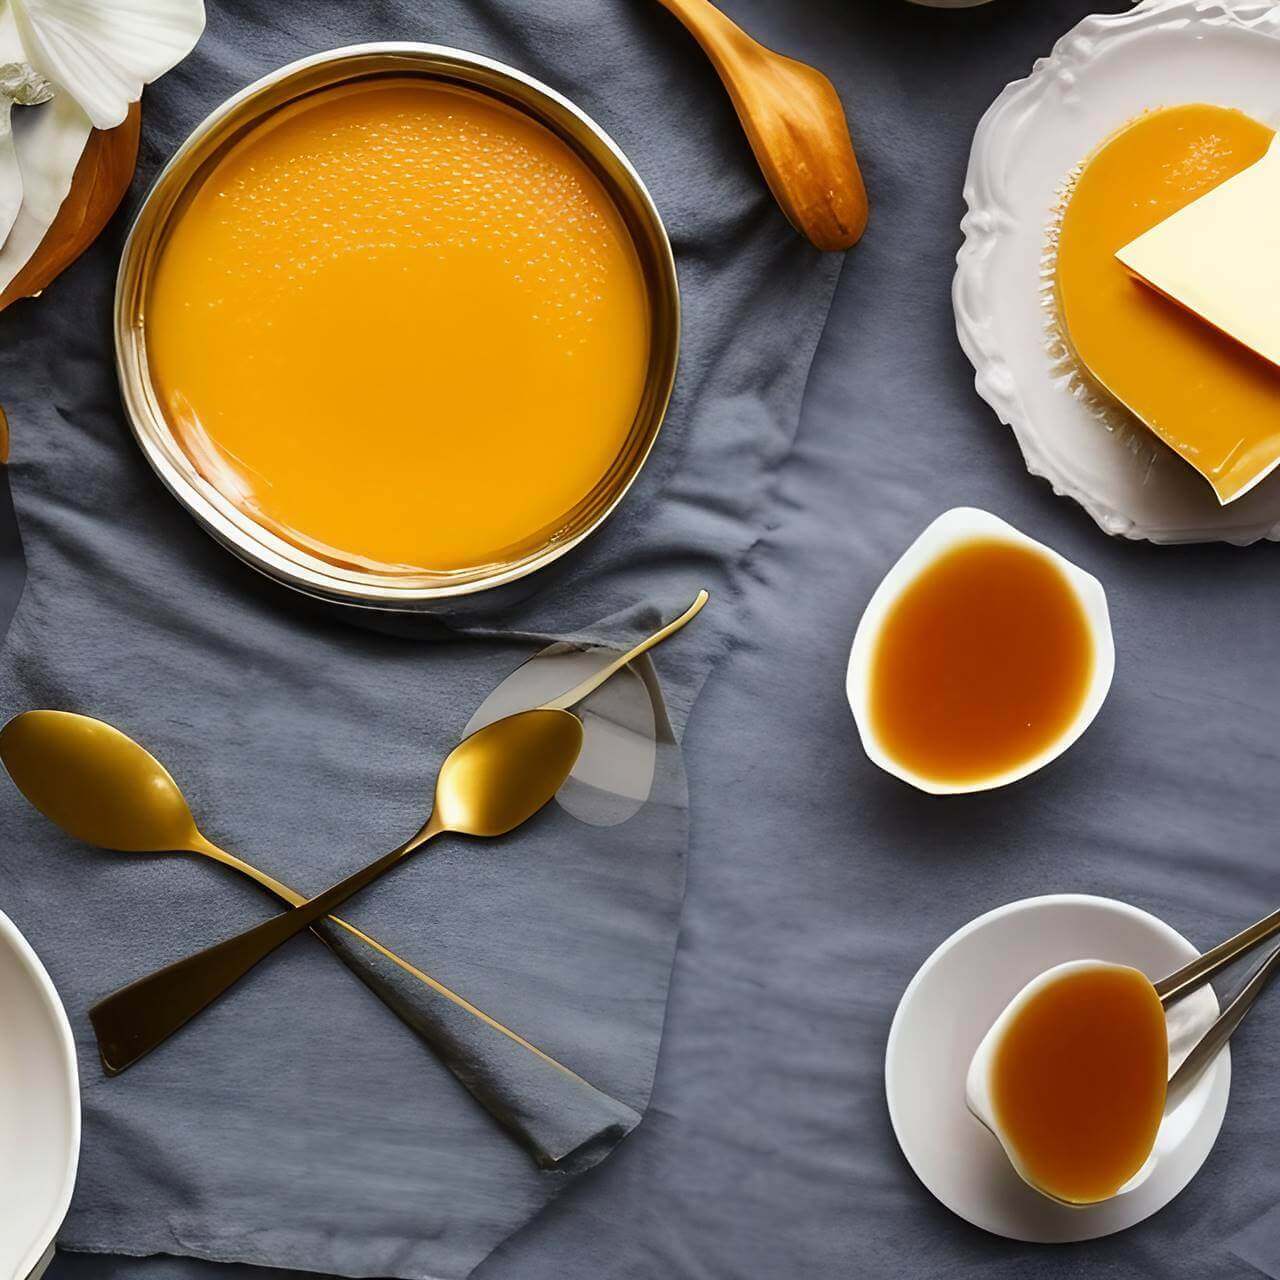
Craving something sweet? Indulge in the luxurious and creamy delight of Leche Flan! Bursting with a smooth custard flavor, topped off with a golden caramel drizzle – this classic Filipino treat is sure to have everyone begging for more. If you’re looking for a delicious and easy-to-make Filipino dessert, try Creamy Leche Flan! This egg custard treat is made with just a few ingredients and topped with velvety caramel sauce.
For those who don’t possess access to a steamer, baking leche flan in a water bath is an excellent replacement for the traditional Filipino method of steaming. No Filipino celebration is complete without the beloved Leche Flan taking centre stage for dessert. It’s always a popular choice, along with other favorites such as Fruit Salad, Maja Blanca and Biko.
Also Read: Ube Macapuno Cupcake Recipe
Don’t be daunted by leche flan—it’s far simpler to make than you might think! A lot of folks are intimidated by the custard, and amateur cooks can indeed find caramel-making daunting and molds intimidating. But in reality, crafting a delicious leche flan doesn’t have to be complicated at all.
This recipe eliminates the guesswork with some easy tips that guarantee your flan to be flavorful (not overly sweet), creamy, and dense – without needing any complex techniques or hard-to-find ingredients.
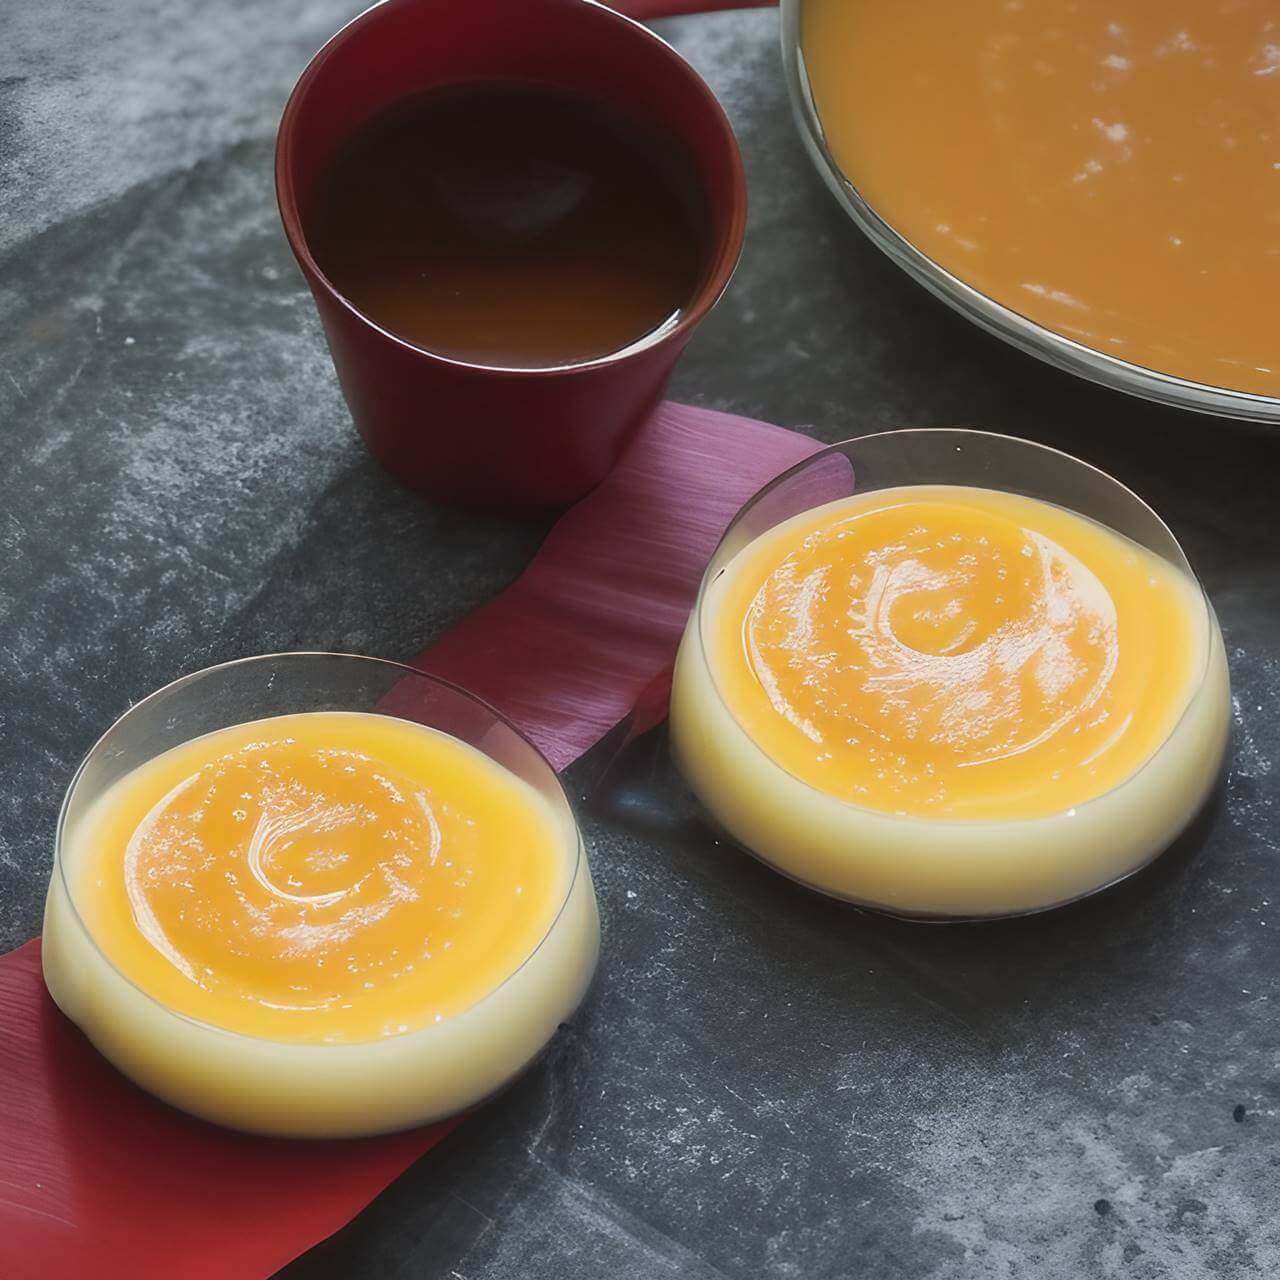
Get ready for an indulgent, velvety treat like no other – because this leche flan is guaranteed to satisfy your taste buds with its creamy texture and melt-in-your mouth flavour. After being cooked, the mold is refrigerated to chill and firm up. When it’s time to serve, flip it onto a platter so that caramel sauce drizzles on top.
Ingredients
- Eggs – For the best results, always use fresh eggs that are at room temperature when adding them to your mixture. Cold eggs can be difficult to beat and mix in comparison.
- White Sugar with a bit of water for the caramel
- Sweetened Condensed Milk – This flan imparts a delectable, rich flavor with notes of creaminess and caramel.
- Evaporated Milk – Transform your flan into a delectably creamy masterpiece with the addition of condensed milk. If you can’t get any, don’t worry – plain old fresh milk will do just fine!
- Vanilla Extract Ignites and intensifies the flavor of the flan, giving it an exquisite brightness.
Steps to Make Leche Flan
- Ignite the oven to 350°F/180°C and get ready for a delicious bake!
- To ensure a smooth and creamy texture for your flan, whisk the egg yolks until just combined. Then add condensed milk, evaporated milk, and vanilla extract to the mix before stirring all ingredients together. Be sure not to over-whisk as it will create little bubbles in your finished product!
- Place the sugar and water into a pot over medium heat, stirring until all of the sugar has dissolved. Reduce heat to low and shake (not stir!) for about 7-8 minutes or until it turns a light golden brown color. Pour melted sugar onto your chosen baking pan – I used a 9-inch cake pan – swirling the liquid around so that it evenly coats every inch of surface area. Allow just several moments for cooling before its hardened state is achieved!
- Begin by straining the milk and egg mixture over your caramel-filled pan. Then, find a baking tray or dish large enough to fit your flan – place the filled pan within it. Pour approximately one inch of boiling water into this outer container before sliding both trays into the oven. Bake until a toothpick emerges cleanly when inserted – which should be around 50 to 60 minutes in total!
- Carefully take the pan out of the water bath and let it cool. Place in your refrigerator until cold – don’t rush this step, because if it’s too warm you may lose its shape! Once chilled, use a knife to go around the edges. Turn onto a rimmed serving plate (you can expect extra syrup to flow around).
Tips
- When preparing caramel on the stovetop, be sure to regulate the flame at a low setting; otherwise, your sugar will burn and impart an unpleasant bitterness as well as a dismal hue.
- Ensure that all the sugar has fully dissolved, leaving no grainy residue. It should be a smooth honey-gold color with not even the slightest hint of granules.
- Before incorporating the other ingredients, lightly whisk and break the eggs to avoid introducing excessive air bubbles.
- Do not skip the straining of the mixture as this gives you a smoother flan and helps in removing lumps from the eggs and air bubbles as well.
- The center of the flan is done when it begins to jiggle, yet for extra assurance, try the toothpick test. If it comes out clean and dry, then your sweet treat is all ready!
- Before attempting to turn out your leche flan, confirm that it has set and cooled completely. Afterwards, use a dull knife around the edges of the baking dish or llanera to loosen up the delicacy.
Frequently Asked Questions
1. Why didn’t my flan set?
Are you finding that your mixture is not set properly? It may be due to the heat or cooking time being too low. To test this, try increasing the temperature until it has set (toothpick test). Alternatively, if you’d prefer not to increase the heat source, then simply add a few extra minutes onto your cook time for an adequately set flan.
2. Why does my flan have bubbles?
If your leche flan is turning out overcooked, there are two likely culprits: an elevated temperature or extended cooking time.
3. Can I make Leche Flan in an instant pot?
Absolutely! After cooking the leche flan, let it cool at room temperature for an hour before placing it in the fridge overnight to have a perfect set. To transfer, take an inverted serving plate and carefully flip them over together. Tap your baking dish or llanera gently so that the flan easily slips out. Make sure to store your dessert creation in an airtight container once done; kept refrigerated you can enjoy this treat for up 3-4 days!
4. Are there any other additives I can add to my Leche Flan?
Yes! Depending on your desired flavor, you can add a variety of ingredients. This can range from fruits such as mangoes, peaches or strawberries; nuts like pistachios and almonds; spices like cinnamon or turmeric; and even some liquors and liquers like rum or amaretto. Experiment with different flavor combinations to create something truly unique! Enjoy!
5. How can I make my Leche Flan extra creamy?
Adding a bit more fresh cream to your recipe will help keep it richer and more delicious. You can also try adding condensed milk or evaporated milk as this will provide an added sweetness and creaminess. If you’re looking for a healthier option, try using half-and-half instead of heavy cream. Finally, adding a bit of sugar will also help to give your recipe an extra kick! Enjoy your delicious leche flan!
6. Can I freeze my Leche Flan?
Yes, you can most certainly freeze this delicious treat for later consumption! Simply wrap it securely with plastic wrap or parchment paper, followed by foil and store in an airtight container. It should last up to 3 months in the freezer, with minimal loss of texture or flavor. Enjoy!
7. How can I keep my Leche Flan from sticking?
Before pouring your mixture into the baking dish or llanera, make sure it has been lightly greased with butter or cooking oil. This will help to keep your flan from sticking and ensure it slides right out of the pan when ready. Additionally, try adding a bit of sugar as this helps caramelize the edges and keeps them from sticking too. Enjoy!
8. Can I make my Leche Flan in advance?
Yes, you can make your leche flan ahead of time and store it in the fridge for later. Simply cover it tightly with plastic wrap or parchment paper followed by foil, and store in an airtight container. Enjoy!
Summary
Making leche flan is a simple yet incredibly rewarding process. With the tips and tricks provided above, you can be sure that your sweet treat will turn out just as delicious every time! Remember to keep an eye on the heat and cook times when preparing caramel for your base layer; this helps prevent any undesired bubbles or burnt sugar from forming. Lastly, don’t forget to cool down your creation before transferring it onto a serving plate. Now get ready to indulge in some sinfully sweet goodness – enjoy!