In recent months, we’ve heard news about our government establishing a tie-up with the Russian government to provide work for Filipinos. And while this is good news for most of our kababayans who are looking for work abroad, Russia as a tourist destination (more than a place of employment) also has a lot of unique things and experiences to offer.
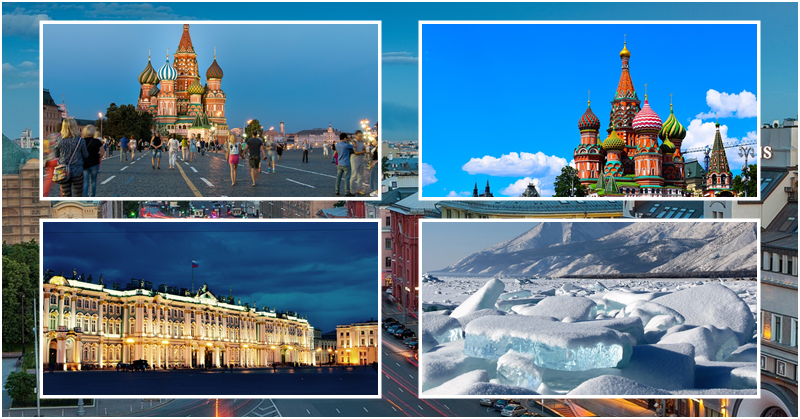
In this post, we will share with you the step-by-step procedure to secure a Russian tourist visa from the Philippines. This is an important document that we need to secure first if we want to set foot in the Moscow Kremlin, see Lake Baikal, and visit the Red Square, Saint Basil’s Cathedral, or the Hermitage Museum. Here’s how to apply for a Russian tourist visa:
Applying for a Russian Tourist Visa in 2018
Visiting one of the world’s superpowers and the largest country out there, you can expect to experience rich cultural heritage, beautiful tourist spots, and natural sceneries, as well as a unique way of life so much different from ours. But getting there or at least getting a tourist visa for Russia isn’t that complicated as you may have imagined. Of course, you will need to be financially prepared because it’s going to cost you a significant amount of money, but everything you need you can get if you prepare ahead of your intended schedule. Here are the requirements you need to obtain when applying for a Russian tourist visa:
- A completely filled-out Russian Visa Application Form which you can get online. Follow the instructions and print a copy after you’ve completed the form. Remember to print the document on A4 paper.
- Passport-size photo to be attached to the printed copy of the visa application form.
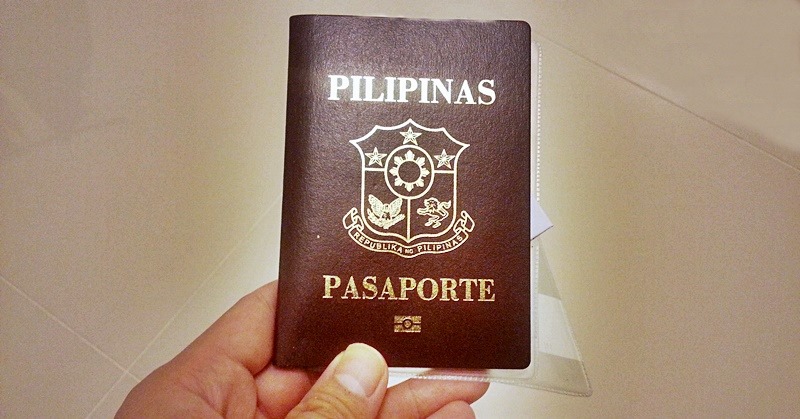
- Your valid Philippine passport. Your passport must have at least two (2) blank pages, and valid for six (6) months.
- Travel voucher. This document serves as an “invitation” from an authorized person accredited by the Russian Ministry of Foreign Affairs. This can either be secured from your hotel or an approved travel agency. Just make sure that you check with your hotel or travel agency if you can get this document for free, because that is usually the case.
- Confirmed return travel tickets. Make sure that the dates on your flight tickets are the same as those you’ve specified in your visa application form and travel voucher. Note that unlike other embassies, the Russian embassy requires visitors to secure confirmed travel tickets rather than mere reservations. This somewhat makes up for the fact that the Russian Embassy does not request for any proof of financial capacity.
Note: The Russian Embassy holds the right to request for additional documents as they see fit. It is important that you provide all the general requirements listed above on time and in full, so as to avoid any further delay.
Step-by-Step Procedure in Applying for a Russian Tourist Visa
- Prepare all the above-listed requirements for your Russian Tourist Visa Application.
- Submit your visa application, along with all the requirements, at the Russian Embassy in the Philippines. Take note of the following information:
Embassy of the Russian Federation in Manila – Consular Section
Room 402A, 4th Floor, RCI Building, 105 Rada St, Legazpi Village, Makati City
Tel: +(632) 810-9581
E-mail: philippines@bk.ru
Submission of Visa Application: MWF: 9:00 am – 12:00 pm
Collection of Passports and Visa: MWF: 9:00 am – 12:00 pm
- Settle the visa processing fee as specified below:
(Rates are as of April 2018)
- Single Entry:
- Regular Processing (2 weeks) – PHP 3,612
- Rush Processing (7 days) – PHP 7,224
- Double Entry:
- Regular Processing (2 weeks) – PHP 5,780
- Rush Processing (7 days) – PHP 11,529
Once you have been issued the deposit slip for your payment, you will need to head over to the nearby UCPB branch (which the staff will give you directions to). After paying the fees, remember to get the deposit/payment receipt issued by the bank, and provide it to the embassy officer. They will then provide you a claim stub and advise you as to when you can return to collect your Russian visa and passport.
- Wait for the result of your application and claim your visa and passport.
While there are fewer requirements needed for applying for a Russian Tourist Visa, the costs are certainly no joke. Therefore, it’s important that you follow instructions down to the letter and comply with all the embassy requirements to increase your chances of getting your visa approved. Best of luck!
ALSO READ: How to Apply for a Schengen Tourist Visa 2018